
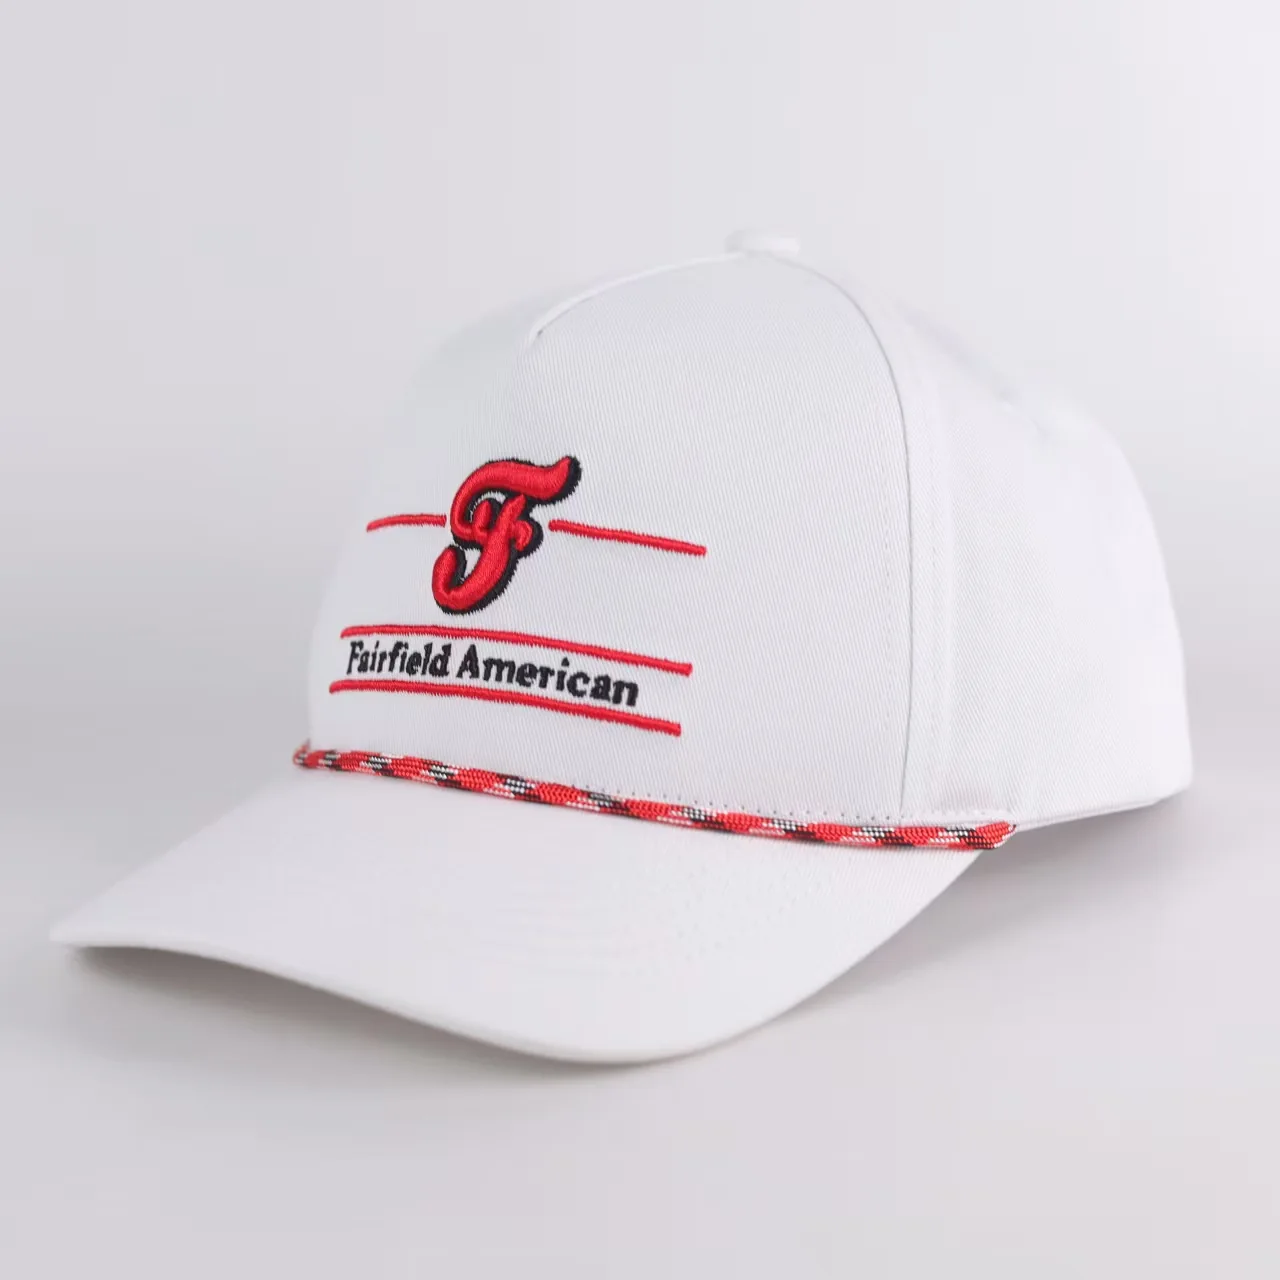
On this white cap, the red, white and black cord follows the line where the crown meets the visor. Its colors pick up the front embroidery, while its patterned surface adds a separate detail below the lettering. These photographs show what to look at when choosing a visor cord for a custom cap.
Here, “rope cap” means a cap with a decorative cord across the front, above the visor. This cord is a design detail, not a chin strap. When specifying one, agree the cord itself, its position on the cap and how the ends will be finished. Approve those details on the physical sample.
Start with the cap, then choose the cord
A loose cord sample shows color and texture. A finished cap shows whether those choices work with the crown, visor and artwork. Review both. In this example, the white fabric leaves the red cord clearly visible, and the black and white pattern relates to the embroidery above it.
For your own design, compare a solid-color cord with a patterned option against the actual cap fabric and thread colors. A screen image is useful for discussing direction; use physical references for the final color decision.
Use the visor cord color card to narrow the choice
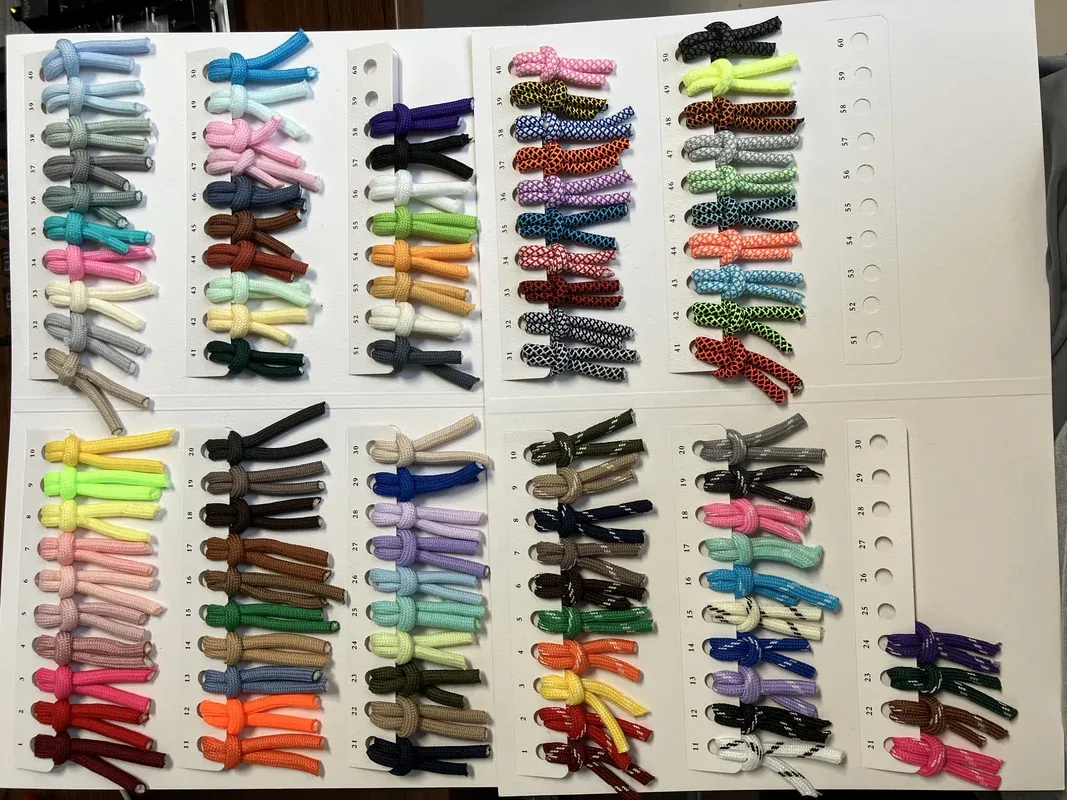
The card below shows solid-color cords alongside mixed-color and patterned examples. Compare a quiet, coordinating color with a contrasting or patterned cord against the cap fabric and logo. Then check the selected combination on the finished sample.
How do I identify a cord from this card?
Send a copy of the card with the preferred cord circled, plus a close-up of that sample. Include any visible number together with its location on the card; a number alone may not identify the choice clearly across the different strips. Show the chosen cord beside your cap fabric and embroidery reference for the sample review.
The card is a visual selection reference, not a stock list or a technical specification. Fiber composition, diameter, minimum quantity, exact color matching and availability need separate confirmation. Do not use the photograph alone to approve the final color.
| Detail | What to specify | What to check on the cap |
|---|---|---|
| Color and pattern | A physical cord reference or an agreed sample code; identify each visible color. | How the cord looks beside the shell fabric, embroidery and visor. |
| Diameter and feel | The required diameter and a physical reference for texture and flexibility. | Whether the cord looks proportionate to the crown and lies as intended. |
| Front position | A marked front and side photo showing the intended line. | Its height at the center, left and right, and its clearance below the logo. |
| End treatment | The attachment and end-finishing method agreed for the sample. | The outside appearance and the inside area behind the sweatband. |
Check the cord line from the front and side
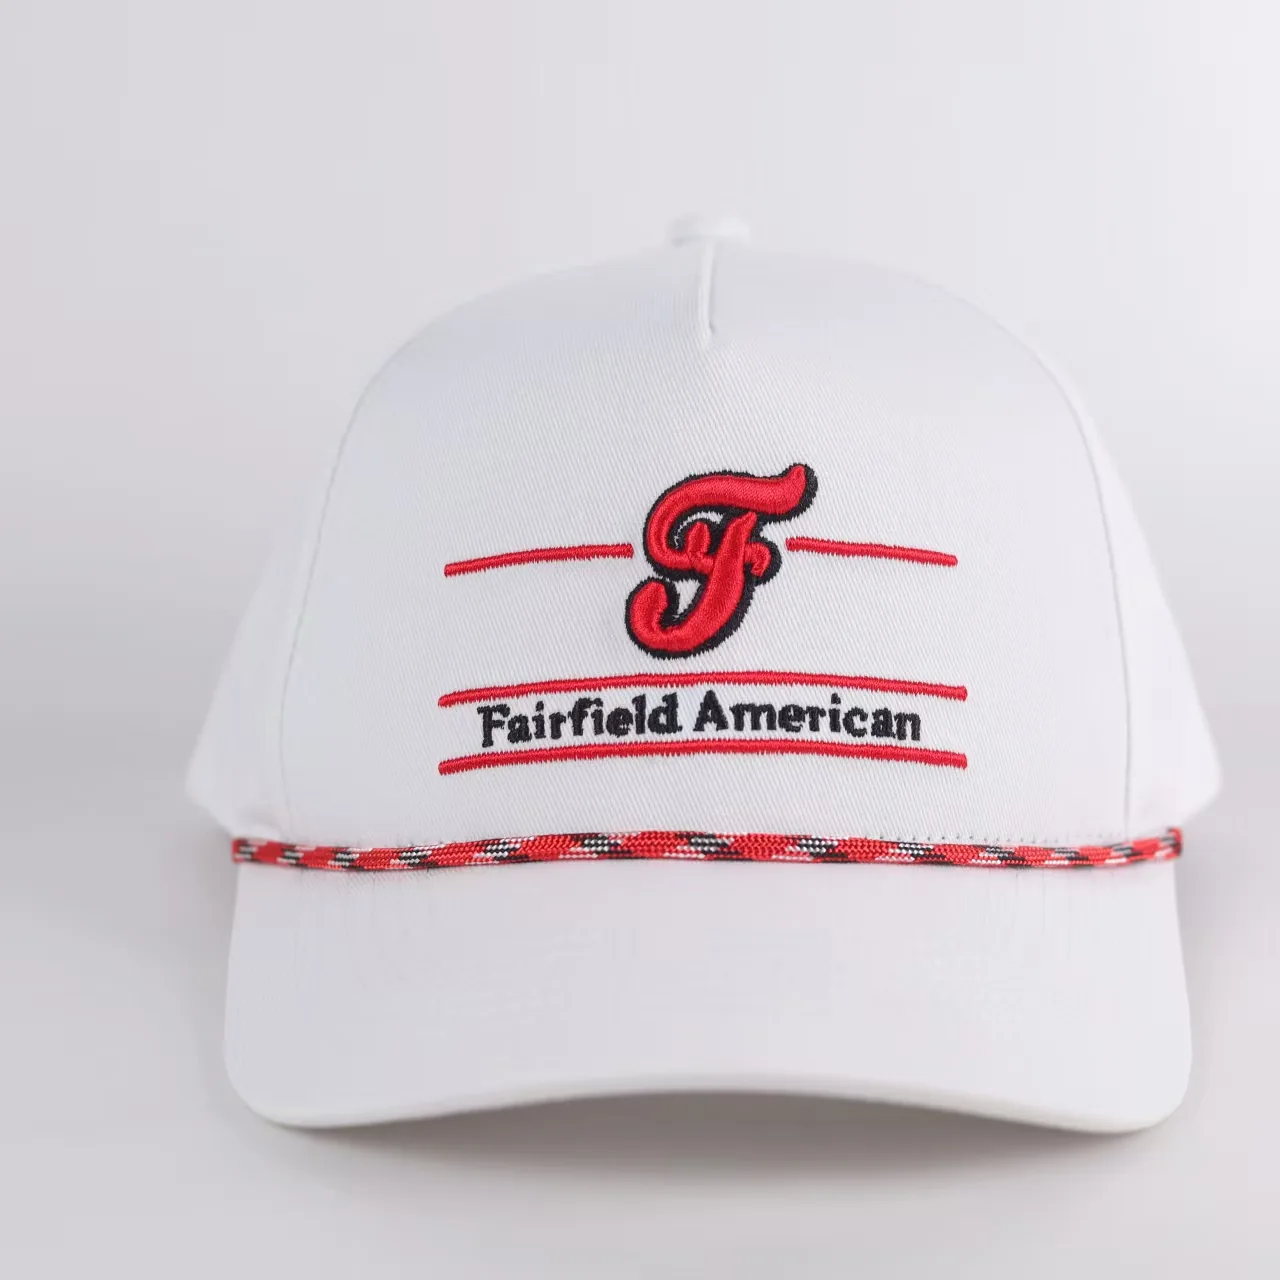
A front photograph helps you compare the two sides. The angled view shows how the cord follows the curve above the visor. Look for an unintended dip, twist or raised section, and decide whether the cord is sitting where the reference requires.
Check the actual logo at the same time. A cord occupies space at the bottom of the front panel, so its position should be reviewed with the embroidery rather than added after the artwork has been approved. If the cap shape changes, check that relationship again on the revised sample.
Look inside as well as outside
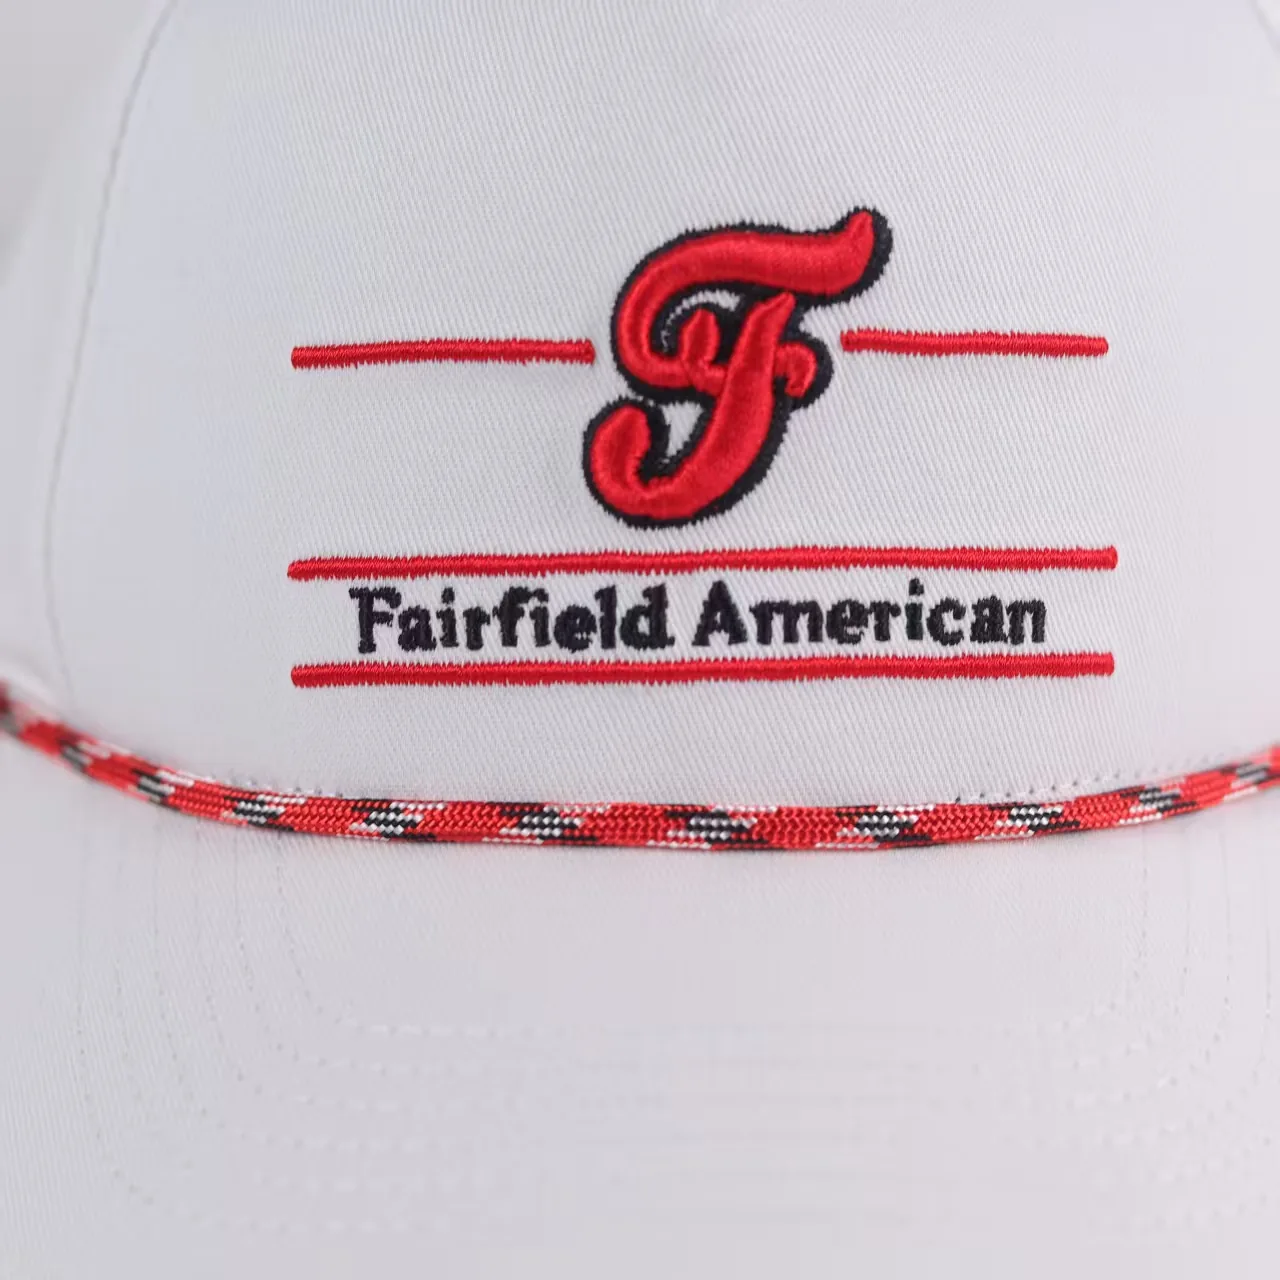
The outside close-up records the cord along the crown-to-visor area. With the sweatband lifted, the inside photograph reveals a cord end in the lower interior area. This is a useful second view when reviewing how the detail has been finished.
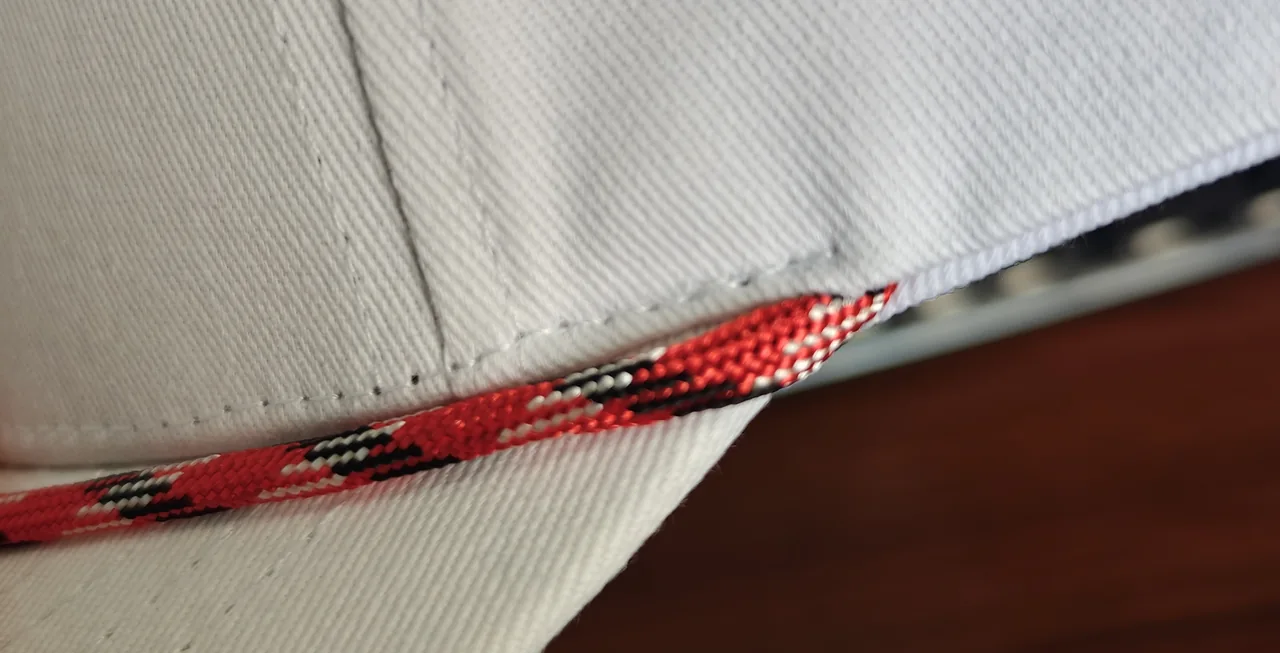
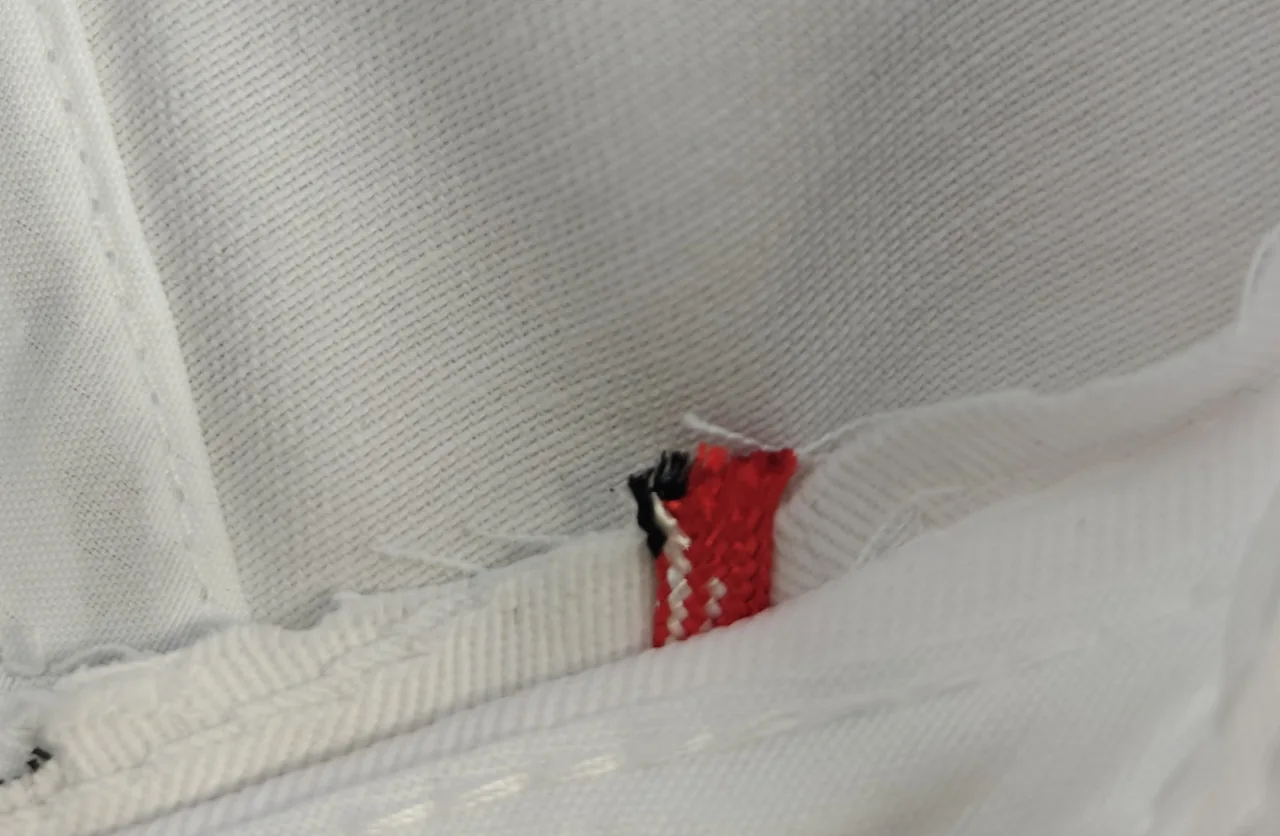
For sample approval, ask to see both ends and how the inside looks with the sweatband returned to its normal position. Confirm the intended end finish and whether any exposed fibers need attention. The photographs here document a sample detail; they do not establish attachment strength or durability.
What to send before sampling
- Front and side views of the cap shape you want.
- A physical cord sample or a marked copy of the visor cord color card, including the desired colors and pattern.
- The target cord diameter, or a physical reference if you do not have a measurement.
- Your logo artwork with its intended finished size and position.
- Marked photos showing where the cord should sit and which parts of the reference should change.
- Quantities by style and color, destination and target delivery date.
If a reference shows only the front, include an inside photo before assuming the same attachment can be reproduced. Cord availability, material, minimum quantities, sampling cost and production timing need to be confirmed for the actual brief.
Before approving the sample
- Compare the cord with the agreed physical color and pattern reference.
- Check its diameter and appearance on the finished cap.
- Review the front line, side placement and clearance below the logo.
- Inspect both end areas, including behind the sweatband.
- Return the sweatband to its normal position and check the inside finish and feel.
- Record any changes with marked photos and keep the approved sample as the reference.
Questions about custom visor cords
Can I add a cord to my cap design?
Send the cap shape and the cord reference together. The sample review needs to cover the front position, end attachment and inside finish. A cord should not be treated as a separate color choice alone.
Can the cord match my logo?
You can specify a coordinating color or pattern. The photographed sample uses red, white and black beside embroidery in the same colors. An exact match needs an agreed physical reference and confirmation of the available cord.
Can I choose a cord from a photograph?
A photograph can start the selection. It cannot reliably establish diameter, fiber composition, hand feel or an exact color match. Confirm those separately before approval.
Do these pictures show how strong the fixing is?
No. They show the outside position and an inside cord end. Confirm the securing method and any required strength checks separately.
Related cap details
Have a cap and cord reference?
Send front and side photos, your logo and estimated quantities. Mark the cord position or finishing details you want us to review.
Discuss your rope-cap specification