OCOEM CAPSCONSTRUCTION & FIT

A CAP IS MORE THAN ITS FRONT LOGO

Choose your cap by construction, not just by appearance.

Real sample photographs with a practical breakdown of brim projection, crown construction, ventilation, color and back closure. Made for buyers who want fewer assumptions at the sample-approval stage.

Photo-led references · OEM / ODM specification discussions · No unverified test ratings

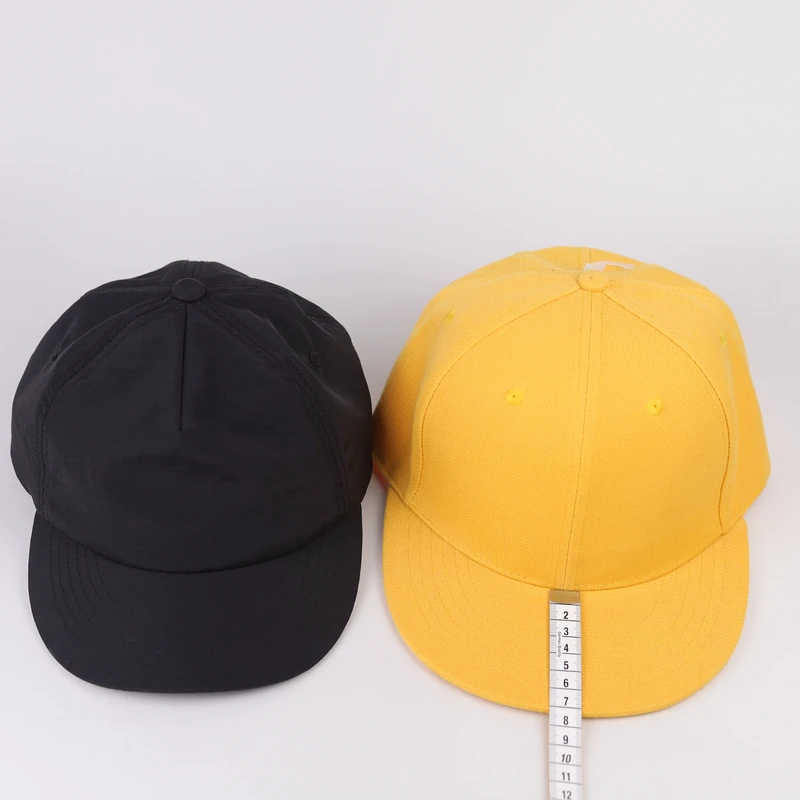
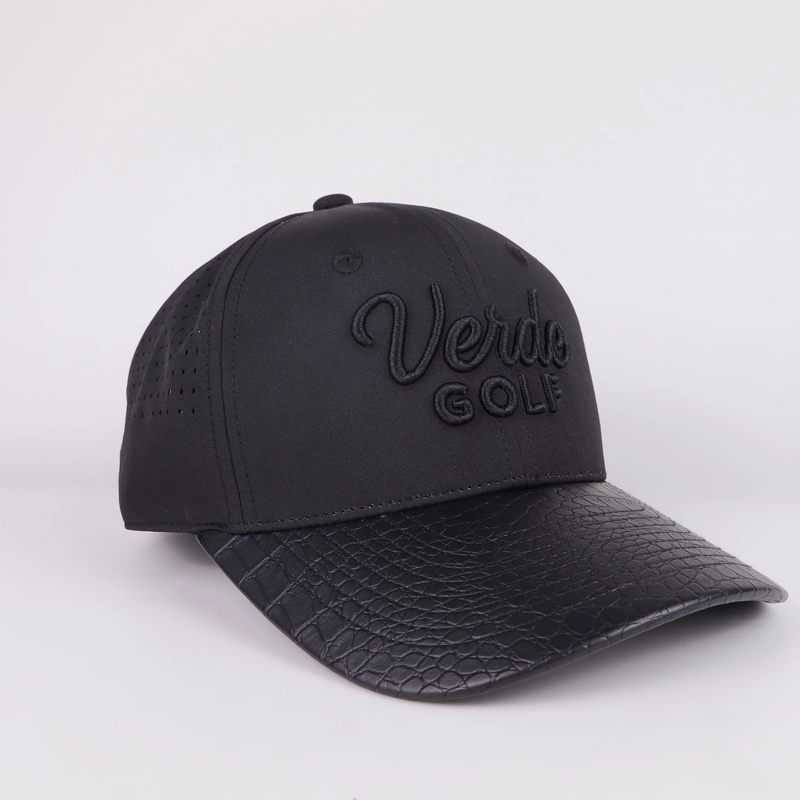
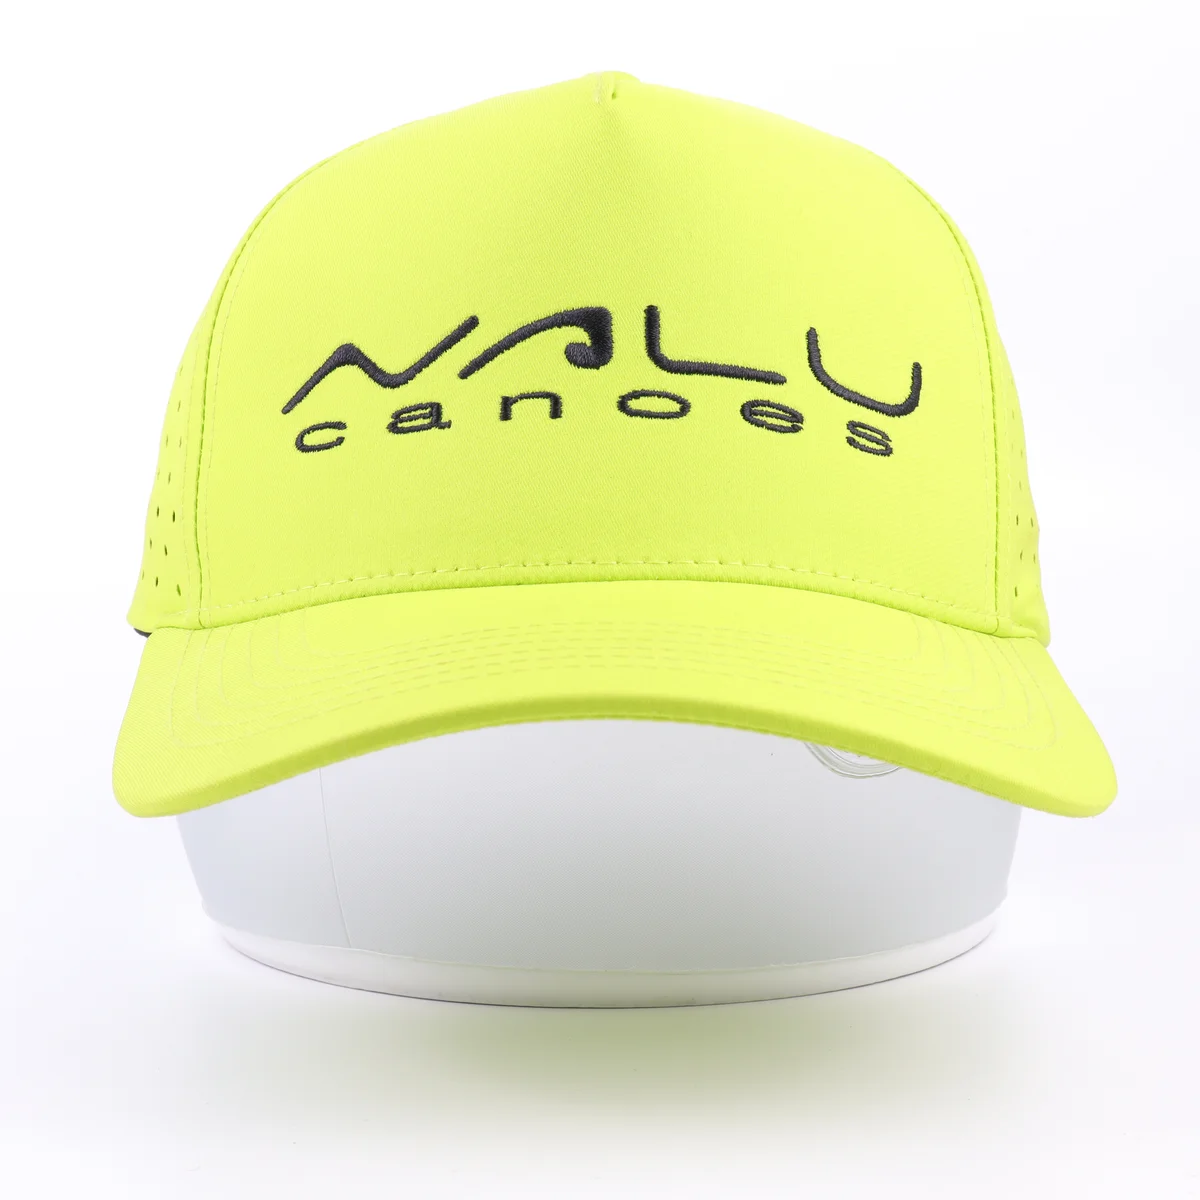
Side-by-side comparison of black short visor and larger yellow visor cap
Short visor versus standard reference
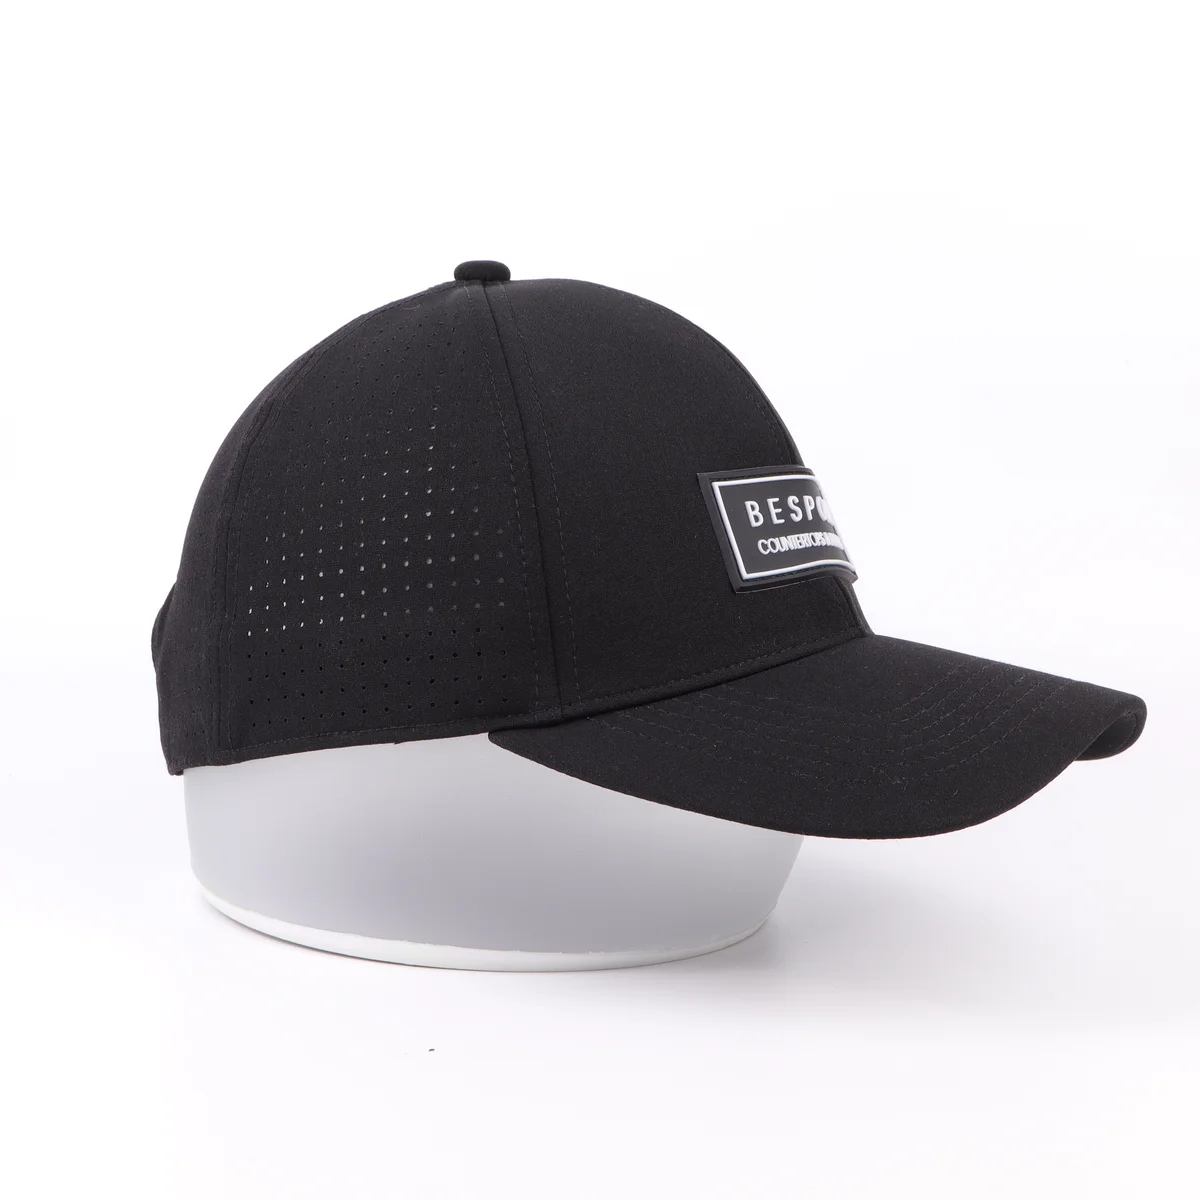
Black perforated cap showing side-panel ventilation
Vent placement
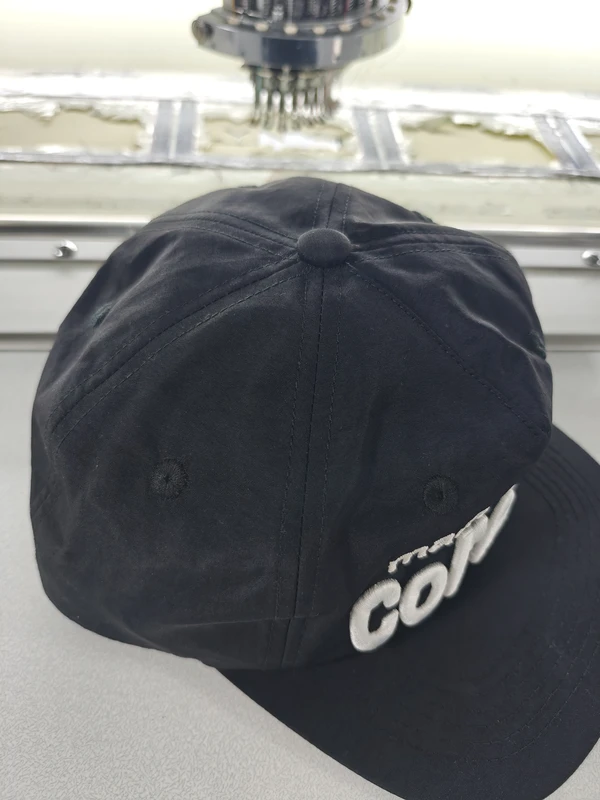
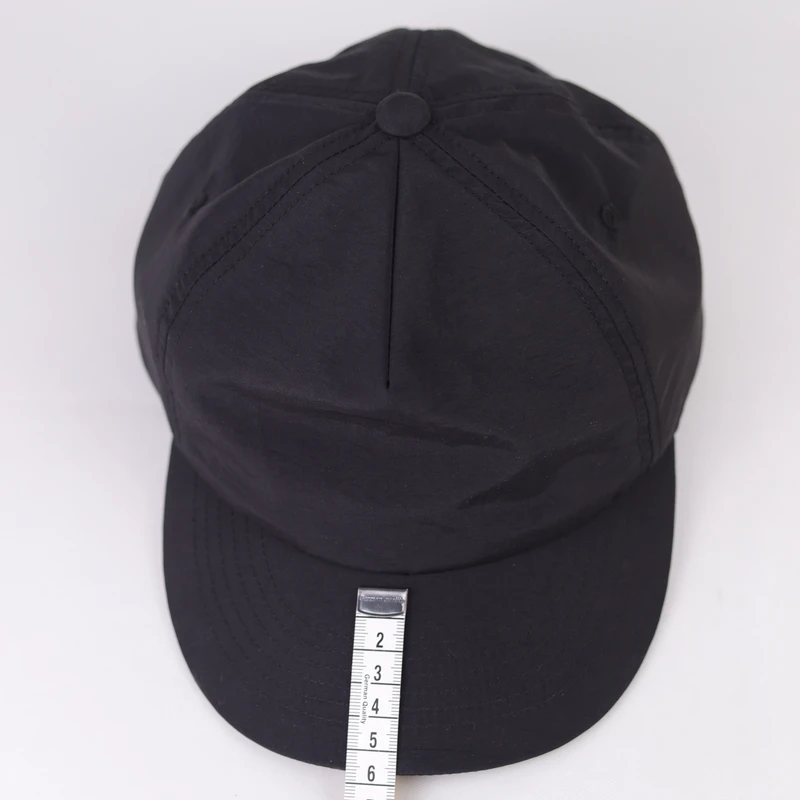
Top of black cap showing crown seam placement
Panel seams

THE TECHNICAL SAMPLE LIBRARY

Five decisions that change the final cap

Select the feature you want to discuss. Each collection contains real sample photos and practical questions to settle before sampling. See the newer multi-angle cap photographs below the five categories.

See new multi-angle construction photographs →

NEW TECHNICAL PHOTO SETS

Construction decisions you can check from real samples

Newly photographed examples make rope trim, internal perforation and mesh-to-front-panel structure easier to discuss before a prototype.

MULTI-ANGLE SAMPLE REFERENCES

One cap, several construction details

These are alternate views of two actual photographed cap samples, not eight separate products. Use them to compare details before confirming a physical sample.

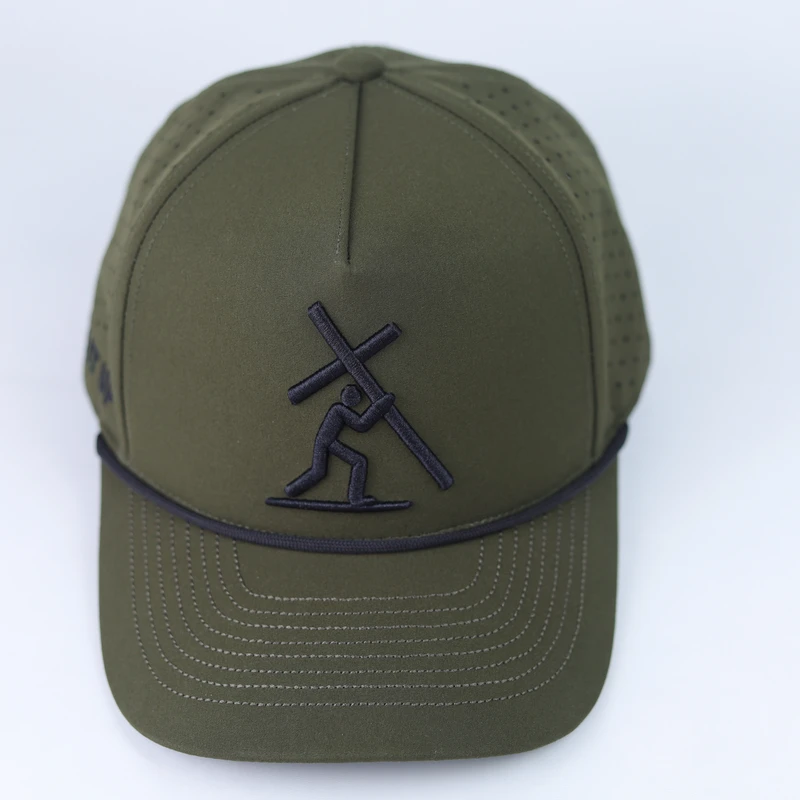
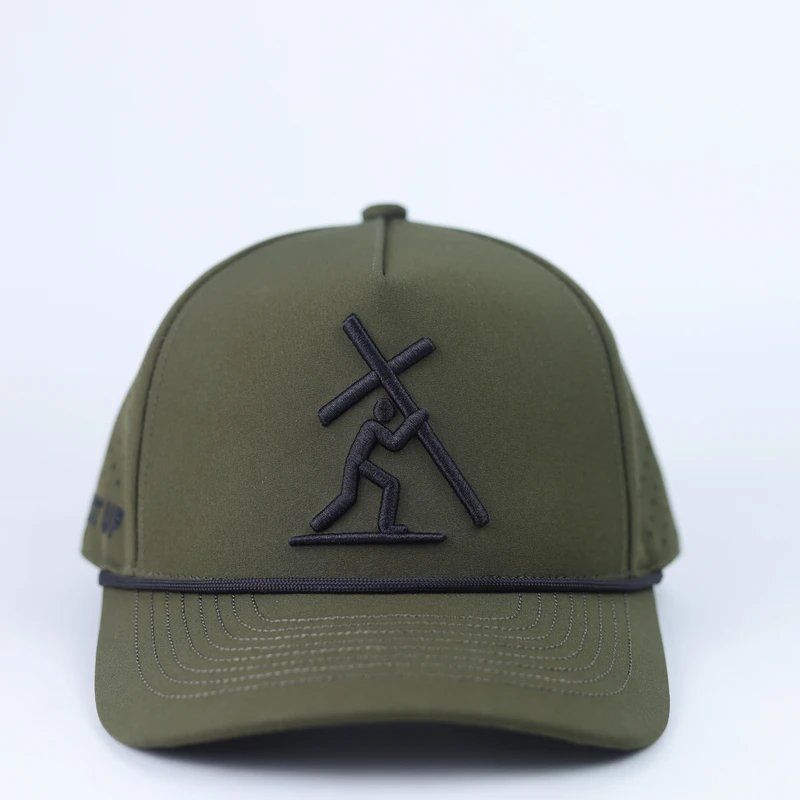
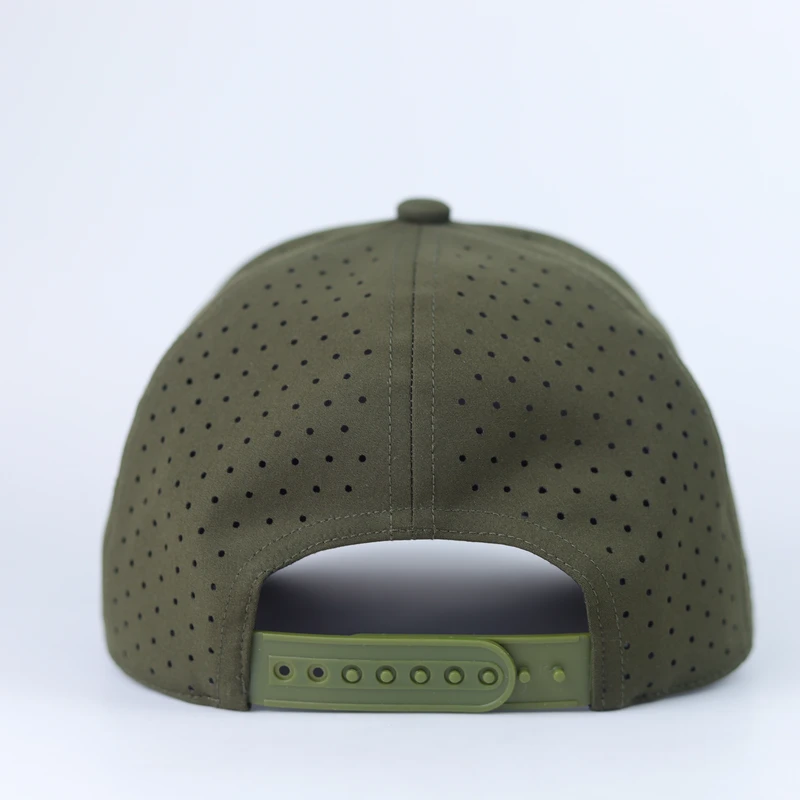
Olive cap — perforations, rope trim and rear adjustment

This single cap shows three different decisions: the distribution of openings across the side panels, the rear plastic snap adjustment, and the narrow rope above the visor. Photos describe appearance—not an independently tested ventilation rating.
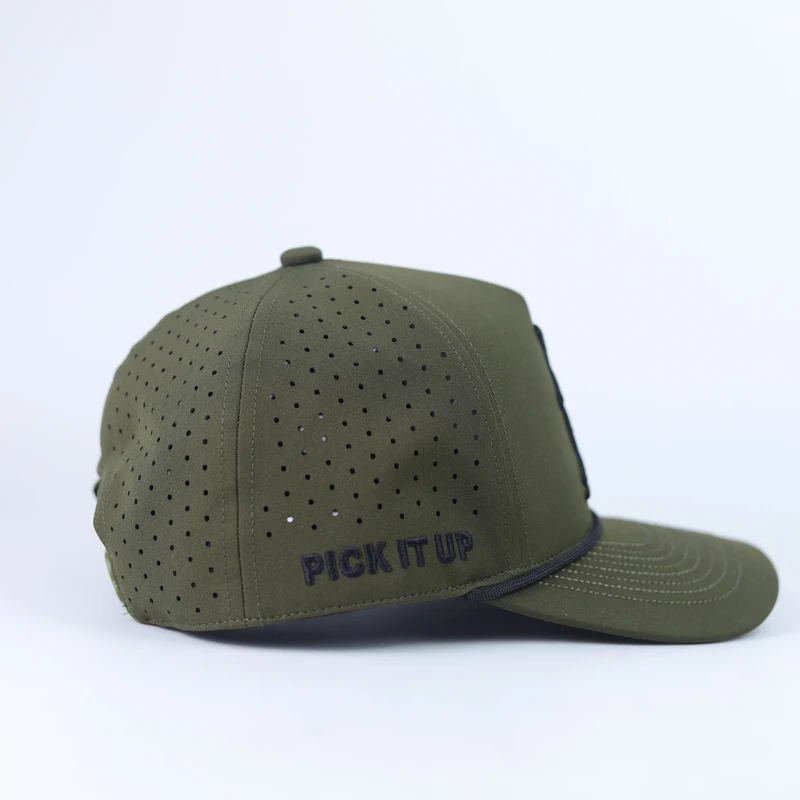
Side view of an olive green cap showing many small perforations across the crown and black side embroidery
Perforations and the side-panel seam
Back view of an olive perforated cap with a matching green plastic snapback closure
Rear opening and plastic snapback
Front view of an olive cap with black embroidery and black rope trim along the curved visor
Front embroidery, rope trim and visor
Review this sample's construction notes →

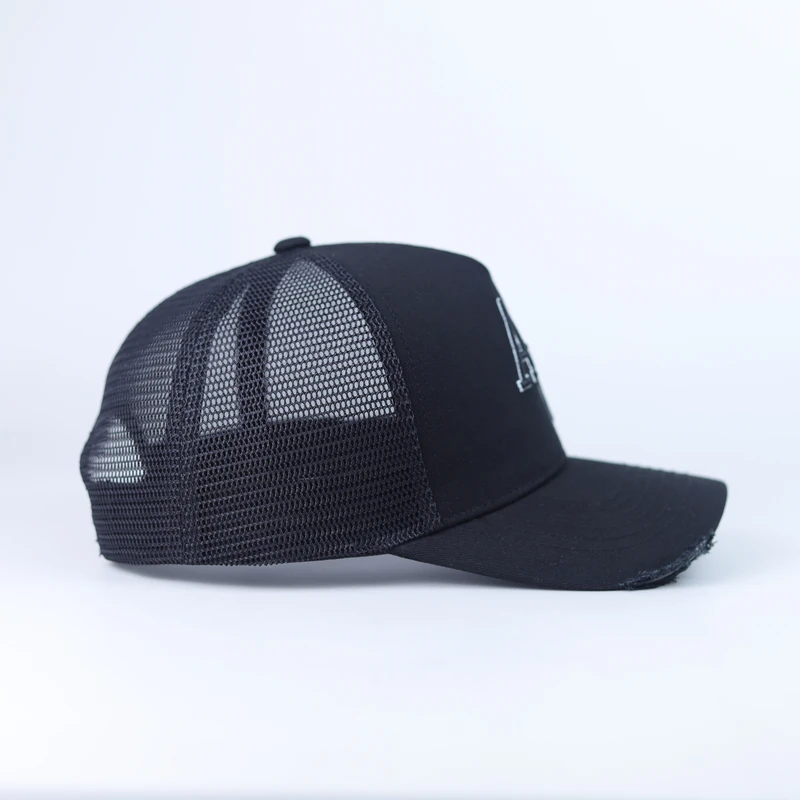
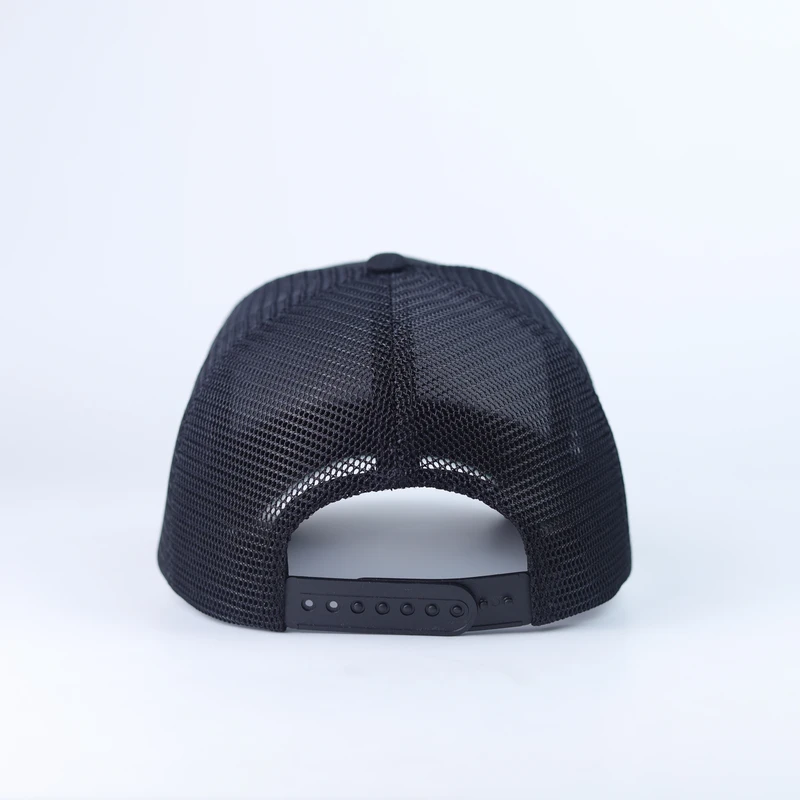
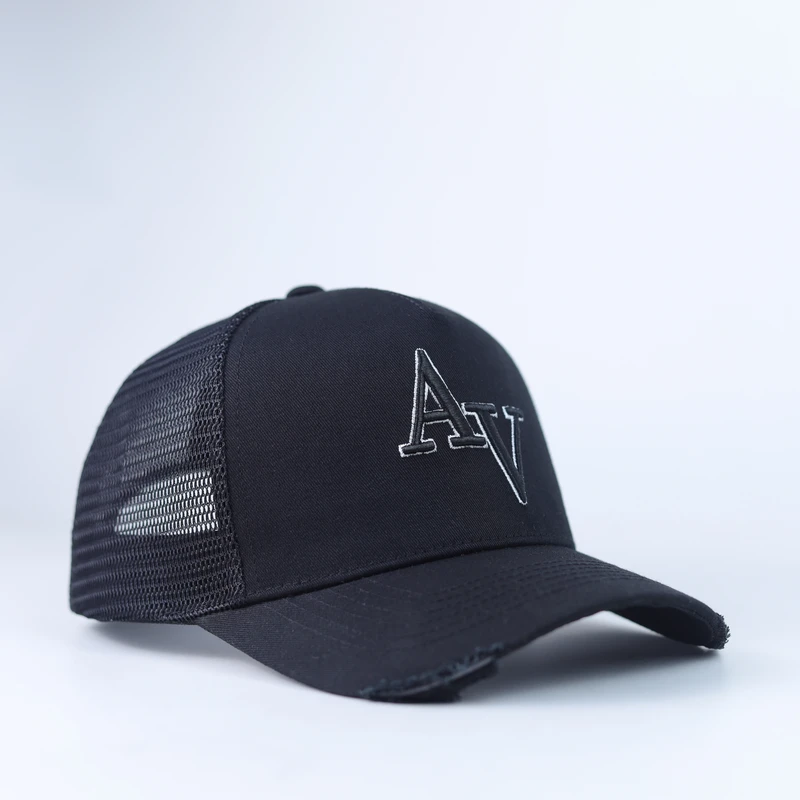
Black mesh trucker — front-to-mesh transition and closure

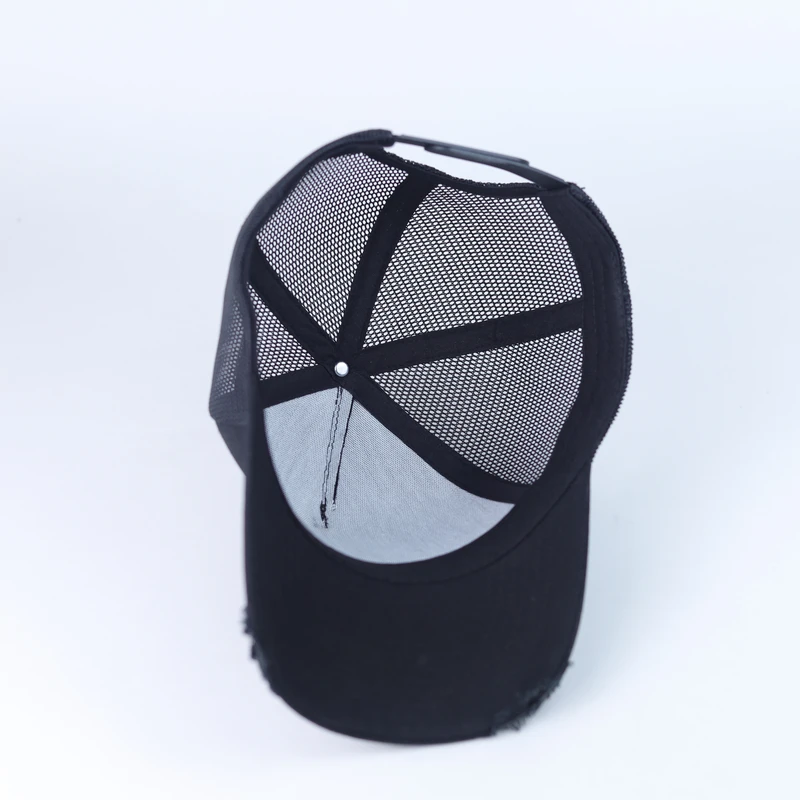
See how the solid front panel meets the black mesh, how the curved visor is finished and what the adjustable rear looks like. A view of the inside helps plan seam finishing for sampling.

Side view of a black trucker cap with dark mesh rear panels, solid front and a distressed visor edge
Mesh-to-front-panel transition
Back of a black mesh trucker cap showing the adjustable black plastic snap closure
Black snapback closure
Inside view of a black mesh trucker cap with internal panel seams and crown junction
Interior seams and mesh panel construction
Review this sample's construction notes →

BUYER CHECKLIST

What a photo can tell you—and what it cannot.

The purpose of these pages is to make a production brief more precise, not to claim an exact material, size or performance test that the photographs cannot prove.

01

Visible construction

Panel shape, seams, visor profile, holes, decoration position and closure are useful visual evidence.

02

Measured requirements

Write down the target crown depth, visor projection, sizes, color references and decoration dimensions.

03

Sample approval

Check the actual sewn sample before treating any reference photograph as the manufacturing specification.

FROM A REFERENCE TO A SPECIFICATION

Tell us which construction you want to reproduce or change.

Send a side view, front view or existing sample. Include the panel structure, desired brim, logo and estimated quantity. We will clarify what needs to be confirmed before sampling.