
Blue Perforated Golf Cap: Panel Layout & Snapback
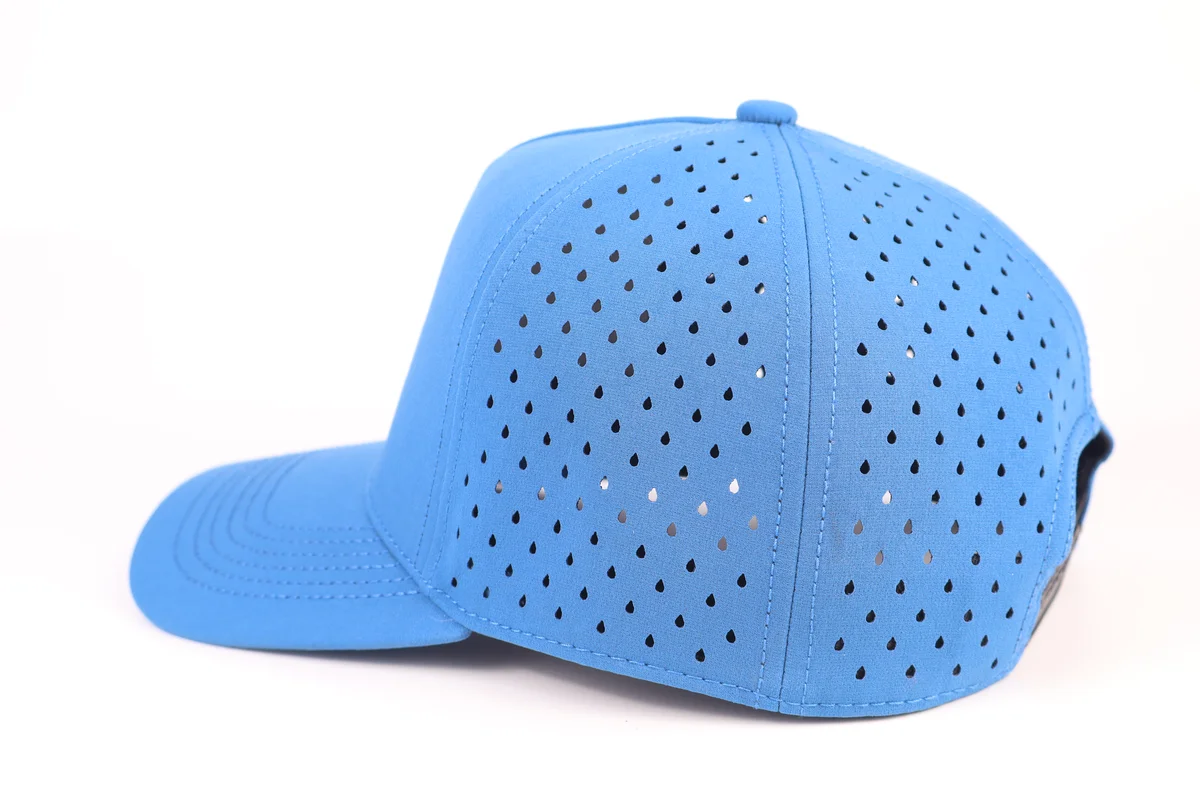
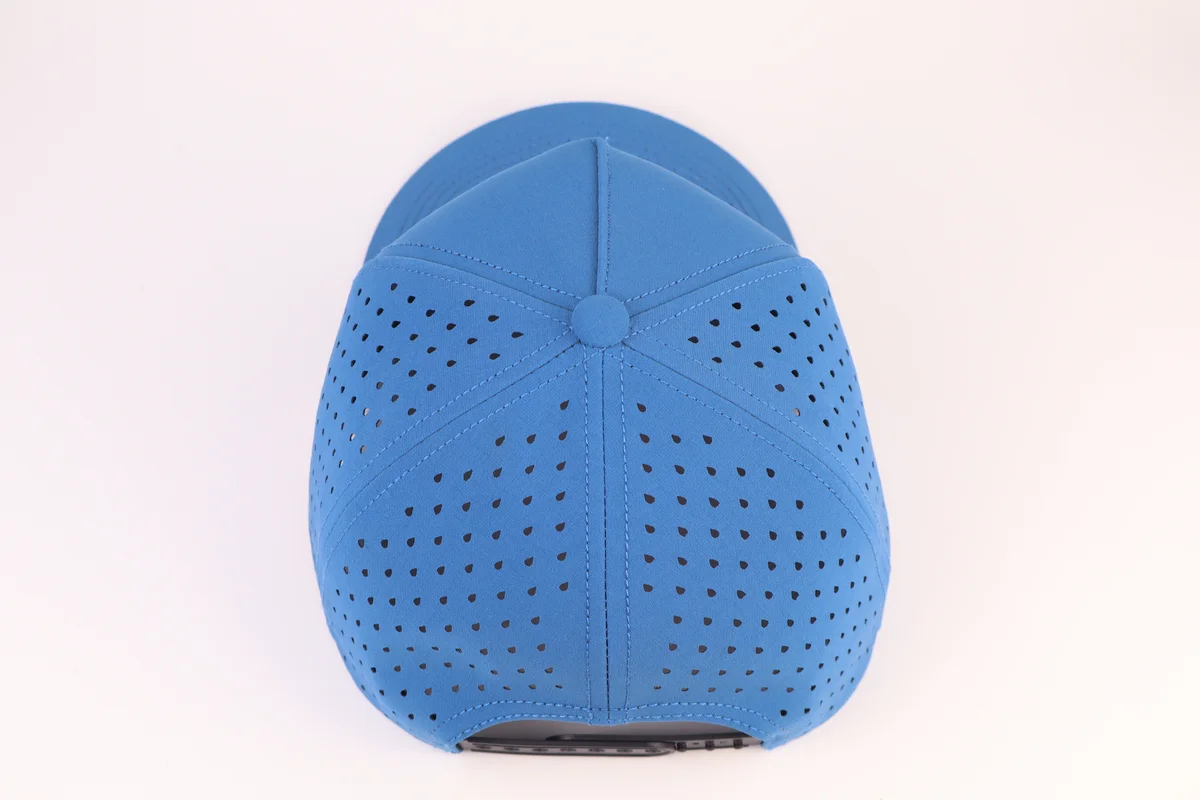
The blue cap has a solid front decoration area and a repeated hole pattern across the side and rear crown. Matched views show how the holes sit relative to the seams, visor and back opening.
Discuss your custom cap →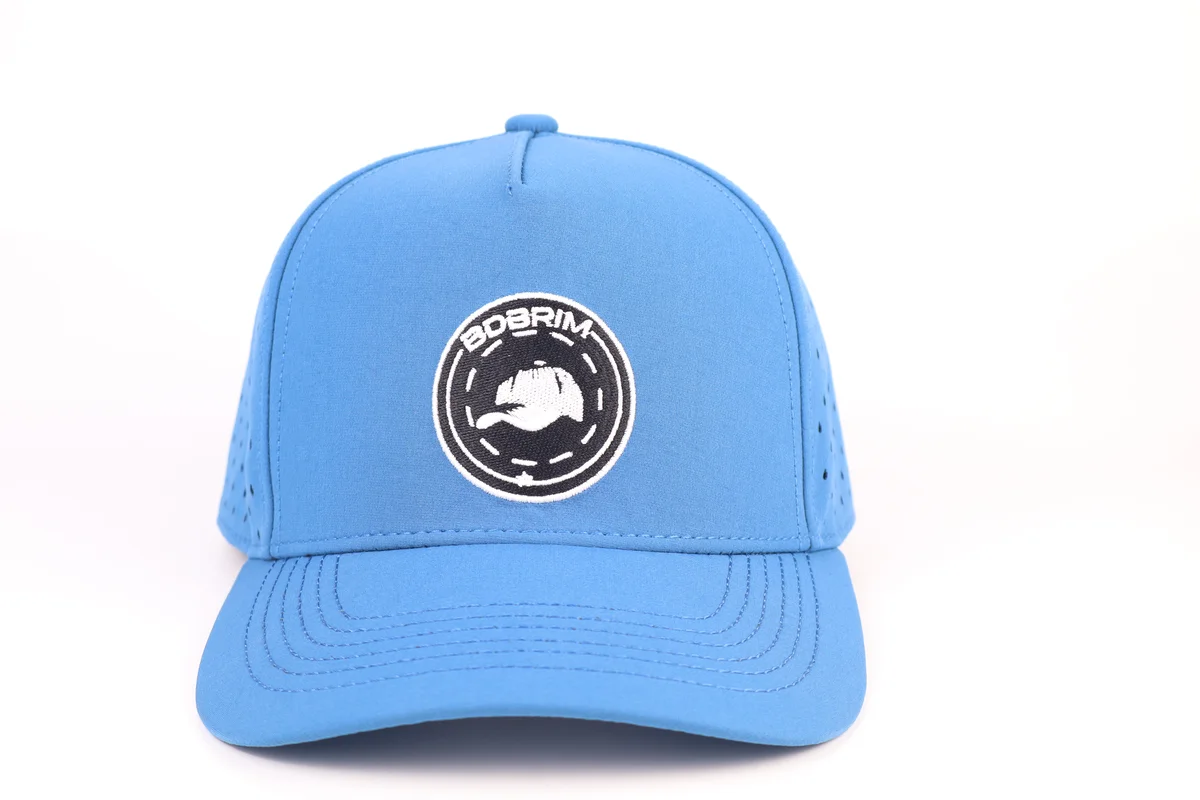
Record where each perforated zone begins
The solid front and perforated back perform different design jobs. Mark the hole zones on the panel pattern, including the clearance at seam allowances and the rear opening. The back view makes the panel joins easier to compare than a front-only photograph.
Specify the visor projection, crown depth and closure adjustment range alongside the perforations. The pictures do not provide those dimensions. If you are developing custom golf or running headwear, use a physical sample to check the fit and choose the material and sweatband for the intended use.
Confirm these details before sampling
- Identify solid and perforated panels on the drawing.
- Record hole size, spacing, seam clearance and the front decoration boundary.
- Check crown depth, visor curve and rear adjustment on the assembled cap.
Buyer questions
Can the perforation pattern be changed?
It can be reviewed for the selected fabric. Supply the required pattern and hole zones, then check an actual cut panel for clean edges and clearance at the seams.
Is the blue cap a five-panel or six-panel design?
The visible front center seam and rear panel joins make this a six-panel style reference. Confirm the final panel pattern during sampling instead of relying only on a product label.
Do the holes establish a moisture-wicking claim?
No. Hole placement is a construction feature. Moisture management depends on the specified fabric and sweatband, and any performance claim requires suitable evidence.
Mark the hole zones before a perforation quote
Send a side and back drawing with the perforated areas shaded. Keep the front logo area, seams and rear opening visible. Give a target hole size and spacing if those details matter; otherwise ask us to review a pattern for the selected fabric.
- Specify the fabric and colour for the solid and perforated panels.
- Mark the front patch size and the boundary where holes should begin.
- Record crown depth, brim projection and closure range separately.
- Give the quantity by colour and the delivery destination.
Ask to see a cut panel and the assembled sample before approving the layout. Hole placement alone does not establish cooling, UV or water-resistance performance. See a close view of a perforated panel and the sample approval note.